ShapeMaster User Guide
Defaults for each job must be set in the Job Details category of the Drawing Properties, as every job/drawing involves different customer references and materials.
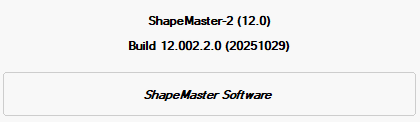
The Job Details > About page of the Catalog/Drawing Properties is informational only with details of the Library version and Build that is being used - see How Build Numbers Work.
In this example, the Library is ShapeMaster-2 Version 12.0 and the Build is 12.000.2.2 (release date stated in the parenthesis).
Click to Expand
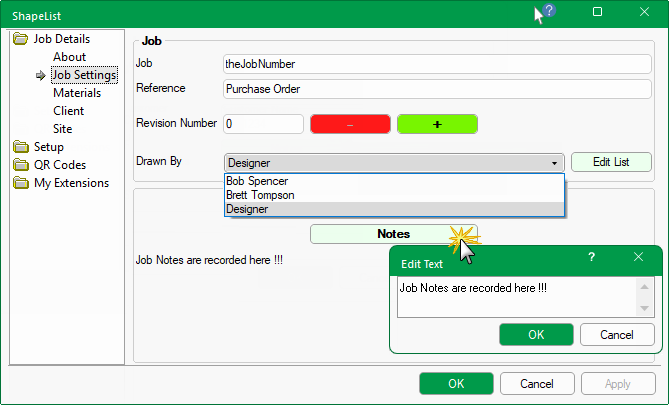
The Job Details > Job Settings page is where a job number is allocated and applied to the current drawing.
Click to view Job and Reference set as Text
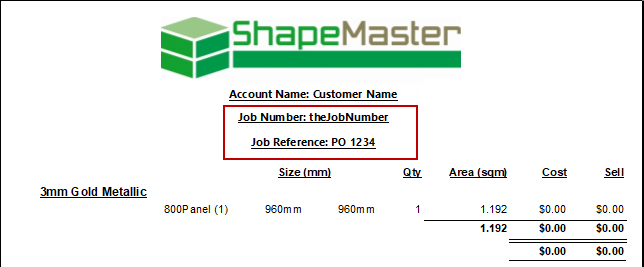
Job and Reference edit boxes can be used to manually allocate a Job Number and Job Reference (e.g. the customer's purchase order).
These details are printed on the report header - click to view example.
The Account Name is set on the Job Details > Client page.
The Job Number and the Job Reference can also be machined onto the shape part and/or displayed in the DXF (click on above image).
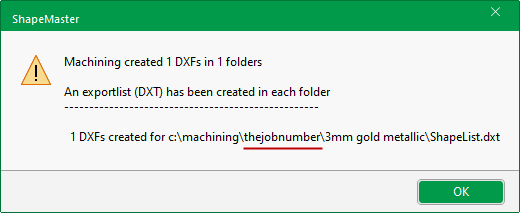
You also have the option to file exported machining files under the Job Number for easy retrieval - click to view examples.
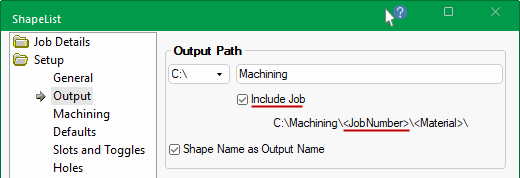
This is a typical message providing the details of the Output Path. For more on how this is generated, see Export Machining.
Enable the 'Include Job' check box on the Setup > Output page of the Catalog/Drawing Properties, if you want the Output Path to include the job number, as shown above.
The Revision Number edit box allows you to enter a revision number and the minus/plus buttons can be used to decrease or increase the current revision number.
The Drawn By drop list allows you to select the details of the designer that is responsible for the job/drawing. Pressing the Edit List button opens a dialog, enabling you to add/delete details pertaining to this drop list.
Job Notes can also be saved here for future reference.
The Job Details > Materials page of the Drawing Properties allows you to quickly override the Catalog defaults with the materials required for the current job/drawing.
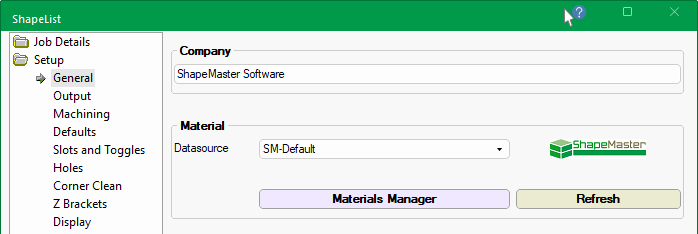
ShapeMaster uses a default set of materials [SM-Default]. When the Datasource is set to SM-Default, the Materials page appears as per the following image. There are also some added material supplier data sources that you might want to use - these include materials for Alcotex, AlpolicFR, Alucoil and Trespa which can be selected from the drop list.
Pressing the  button directs you to the Setup > General page. The materials selection list is controlled by the data within the various materials tables. If you need a new material or wish to permanently adjust an existing one, you can do so within Materials Manager.
The default Datasource is SM-Default which contains the set of materials provided with ShapeMaster Software.
These materials can be customised. In some cases, it may be advisable to create a copy of the default material and rename/customise the copy.
For more on how to customise SM-Default materials, see topic on Setup > General/Materials and the Fixed Pricing Tutorial.
In addition to the default set of materials [SM-Default], there are also some added material supplier data sources that you might want to use - these include materials for Alcotex, AlpolicFR, Alucoil and Trespa which can be selected from the drop list.
When the Datasource is set to anything but SM-Default, the Materials page appears as per the following image for Trespa (except for the ability to specify a 2nd colour).
Filters : Use to locate the Series type and the Thickness of the material to limit the Material drop list selection.
Material : Use the drop list to select the required material for the current job/drawing. The details and colour sample are displayed.
- In the example, the selected Material is "10mm Lumen Paris Silver" which is grained.
- LM5101 in this case is the supplier code for this product.
Sheet Sizes : These are currently just for information purposes but you should ensure that they are taken into consideration prior to machining.
If pricing is required, see the tutorial on Fixed Pricing as the Materials Manager is not available for customising cost etc.*Trespa materials have the ability to specify the 2nd face color - see video.
As Front Face ON : This will let you have the same colour for the front and back face of your parts.
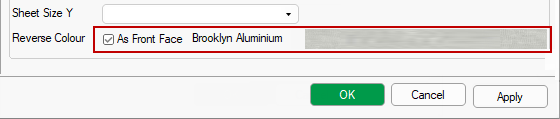
As Front Face OFF : You can enable the Select as RGB which will let you have a different colour for the back face.
Simply click on the rgb button (as shown) and 'Define Custom Color' (e.g. 183, 65, 14) and 'Add to Custom Colors' for later use. The Edit Text box will automatically be presented for manual entry of the defined colour (e.g. Rusted Brown).
If you have mades changes and want to revert back the the Catalog default before saving, then click on the Refresh button.
If you have created a new material and cannot see it in the current drop list for selection, then press on the Refresh button and look again at the drop list.
See topic on Setup > General page of the Catalog/Drawing Properties for discussion on creating/updating materials.
Setup > General page and Materials Manager
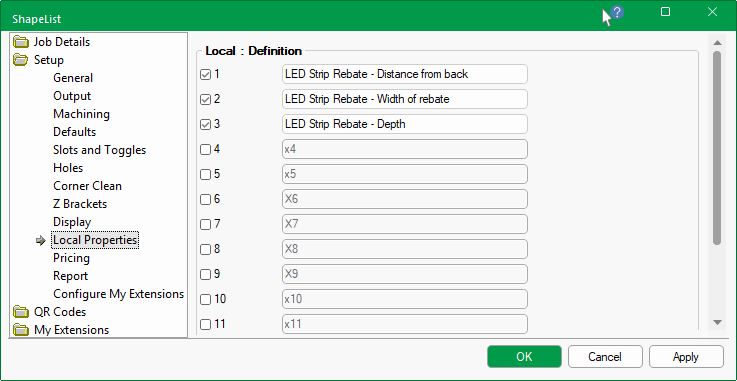
The Job Details > Local Properties is only available if one or more Definitions are enabled in Setup > Local Properties of the Catalog/Drawing Properties.
Example of setting up Local Properties
Before the Job Details options are made available for Local Properties, you first need to type in required definitions on the Setup > Local Properties page.
The default values pertaining to the enabled custom Definitions (as per the Setup > Local Properties) can then be manually typed in here.
These defaults can be overridden at Shape level by accessing the Shape Information Properties.