ShapeMaster User Guide
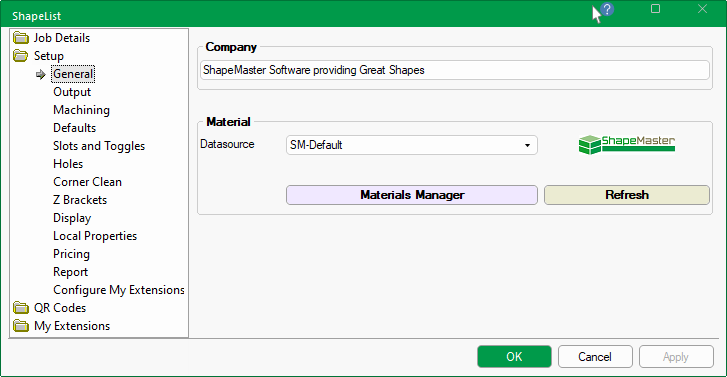
The Setup > General page allows you to set access the Materials Manager.
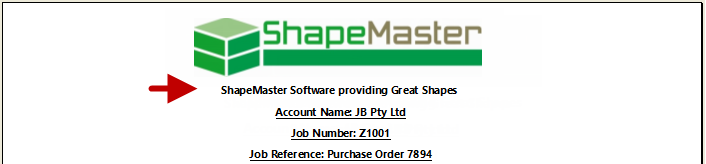
This is printed on the report header and can be customised as per your requirements.
ShapeMaster uses a default set of materials [SM-Default] that can be customised to the user’s preference.
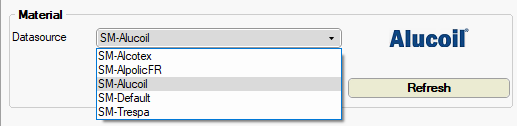
If a Datasource other than SM-Default is selected, then the Materials Manager button will not be made available (click on image below) and therefore cannot be customised by the user. There are times, however, when you might want material manufacturers stored in a separate database.
See topic on Job Details : Other Material Sources for more details.
Click to Expand
If the latest version of ShapeMaster does not include the required datasource or there is an issue, contact Support.
Notes on other Datasources
On the Job Details > Materials page you can select the required Datasource from the drop list e.g. SM-Alucoil.
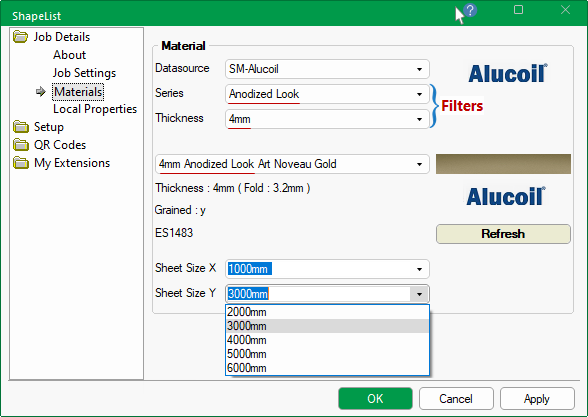
Use the filters to locate the Series type and the Thickness of the material to limit the Material drop list selection.
Sheet Sizes need to be taken into consideration prior to machining.
Click to view example of Supplier Colour chart with Codes
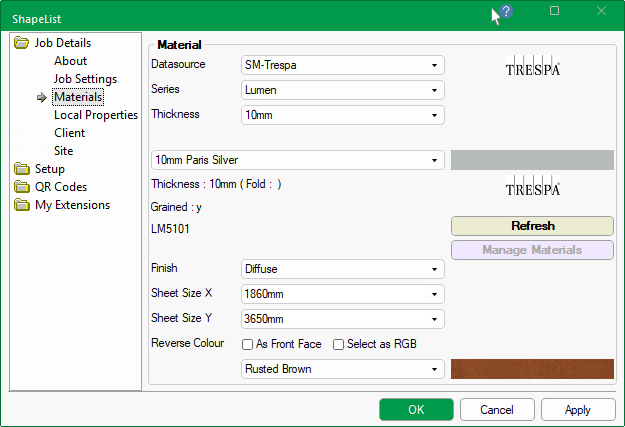
Trespa materials have the ability to specify the 2nd face color. This will let you have different colors from the front to back face of your parts as required.
 Watch the Video to learn how you can select different colours on the front and back face of your Trespa parts as required.
Pressing the Refresh button will update all materials (changed in the file content) in current job/drawing.
Refreshing of drawings is not always desirable as you may not want the changes to be reflected in the current drawing (especially pricing).
Changes made to materials using the Materials Manager will not automatically update the same materials in the current drawing (or catalog editing session) if it was already selected prior to the change. As a new drawing is started default materials will refresh to the latest. Use the Apply button to update current job/drawing.
This is deliberate as it stops details (particularly prices) of already quoted drawings from changing. However, properties can be manually refreshed as discussed.
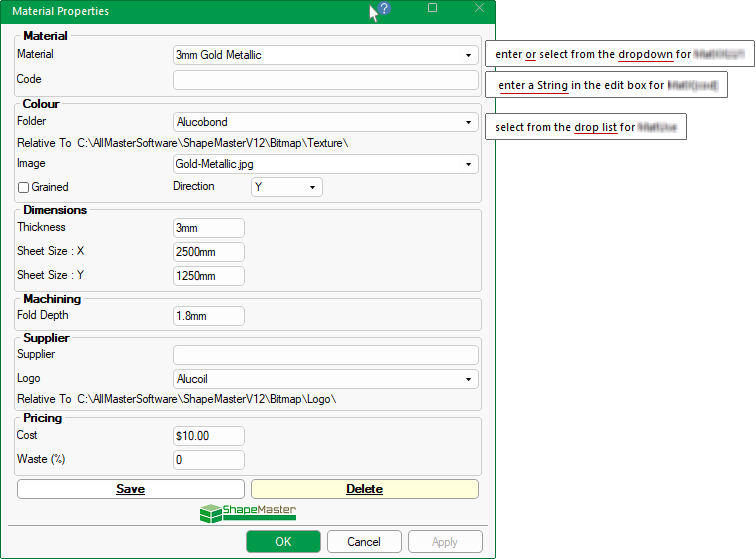
The Materials Manager provides the ability to create, modify or delete materials from any data source, as required.
Simply use the button  to open the Material Properties inspector which allows you to assign new material textures, door styles, grain direction and even set pricing.
Edit boxes allow different types of data, which can be seen when you hover the cursor over it. As shown, some edit boxes....
Every option, whether it is an edit box or check box, has a property name (blurred out here) that is referenced by the software, especially useful in reporting.
If the Apply button becomes available, then it is a good idea to press it to ensure that any changes are applied to the current job/drawing.
The property sheet will remain open for any further changes therefore when all changes are completed, press OK to close.
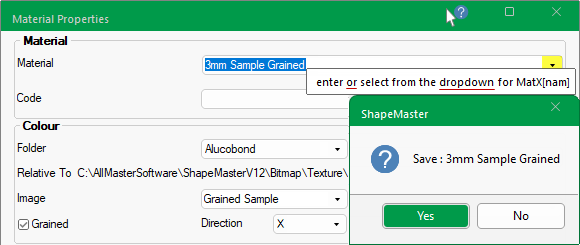
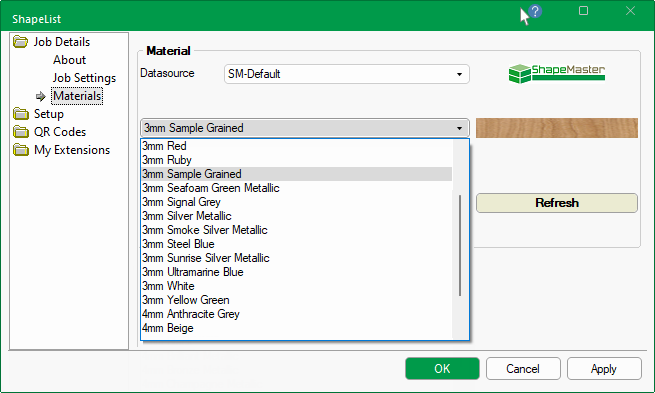
To create a new material, simply type the descriptive material name in the edit box.
- In this example, we have entered/typed in the descriptive name '3mm Sample Grained'
An image of the new material may also be required, which is simply a jpg saved in the stated location/Folder.
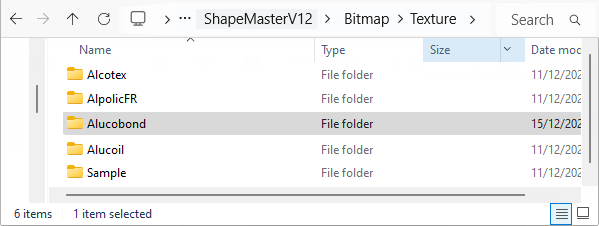
Example of image location and file
In this example, we have copied/saved an image file called 'Grained Sample.jpg' and selected the Image using the drop list.
New image: <ShapeMaster folder>\Bitmap\Texture\Alucobond\Grained Sample.jpg
If the material is Grained (see notes below), then enable and select the Direction.
- In this example, the Grained checkbox is ticked and Direction has been set to X using the drop list.
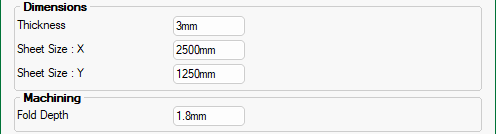
The Dimensions i.e. Material Thickness and Sheet Size, entered here are informational only, as these will be defined in the ATP - see topic on Machining.
Machining Fold Depth is the depth of the fold line.
Supplier is optional. It allows you to associate the material with a supplier and price accordingly.
The Logo is displayed on the Job Details > Materials page.
The Logo is displayed as per the Datasource selection on the Job Details > Materials page.
The Materials Manager can only be used when the Datasource is SM-Default (ShapeMaster), so if pricing is required for other Datasources then Fixed pricing can be used - see Pricing Tutorials : Requirements.

Click to view Setup options required for these to report.
The Cost is the price per square metre of material used.
Waste is a percentage of waste per sqm. The resulting cost price will reflect this.
- For example, if a shape requires 1 sqm of material and the waste is 5% then the price is the cost for 1 sqm plus 5%.
For pricing to be reported on, the corresponding options need to be enabled on the Setup > Pricing and Setup > Report pages (click on above image).
After completing the Material Properties form...
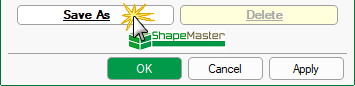
- click the Save As button. You will be asked to confirm this action.
- Note that the 'Save' button changes to 'Save As'.
- then click Apply (which leaves the property sheet open for any further changes)
- Click OK to close property sheet.
Select the material that you wish to make changes to using the drop list and make required amendments.
- click Save, confirm the action and then Apply and OK to close.
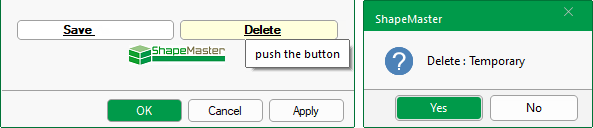
Select the material that you wish to delete using the drop list and push the Delete button and confirm.
Go to the Job Details > Materials page and, from the drop list, select the required material for the current job.
If you want to apply to all future jobs then set this in the Catalog. Remember to press Apply and then OK to close.
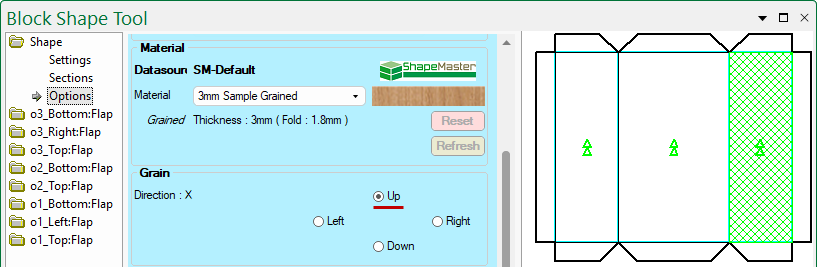
Each shape then has the ability to be nested with the grain in a chosen direction.
If the Grained checkbox is enabled, you can specify the required grain Direction for the shape.
Even though the Material definition only allows X and Y grain (i.e. 0 and 90 degree), you can specify the exact direction on each part, as shown, by using the direction radio buttons. The radio buttons allows you to set the grain direction to 0, 90, 180 and 270 degrees. This also includes indicators on the preview pane.
 Grain options on the part are only available if the material is defined as 'Grained' in the Material definition.
Some materials such as the Aluminium Composite Materials (ACM) have a pattern/finish that is direction dependent (i.e. left to right is not the same as right to left). Adjacent parts need to have identical direction. It is therefore important to be able to specify the exact direction.
In ShapeMaster V12, we have added Trespa HPL panels to our material library. This video shows how you can select different colours on the front and back face of your Trespa parts as required. [0:22 mins]