ShapeMaster User Guide
Multi Shapes allow the addition of Sections which can be accomplished on the Shape > Settings page.
This topic is not applicable to Standard Shapes as these allow only one (1) section.
Multi vs Standard Shape
Multi Shapes have an extra provision on the Settings page to add up to five (5) sections, as discussed above.
The default is for the configuration of one (1) section.
The Shape > Settings page provides a drop list which allows up to 5 sections to be added (click on image), with the provision to add Upper and Lower sections using corresponding checkboxes.

Click to view preview of shape with 5 sections selected with upper and lower.
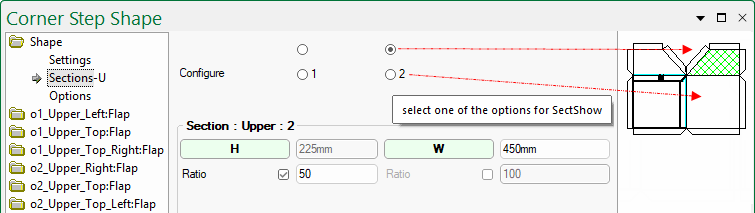
Each section can then be individually configured using the radio buttons on the Shape > Sections... page.
The Shape > Sections page allows you to Configure each section of the selected Shape.
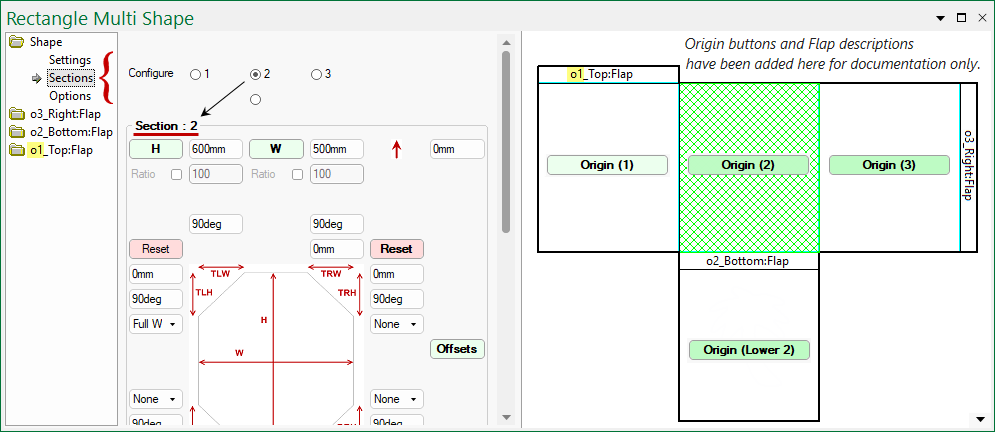
Configure radio buttons are used to select which section is being defined and is highlighted in the preview pane to confirm this.
The shape shown here has three (3) sections, with a lower section added, which is referred to on other pages as Origin - see Origin buttons discussed below.
When Flaps are added, pages are added with a prefix that defines which section is being configured e.g. the page o1_Top:Flap uses the prefix o1 to define that this is the flap that is attached to Origin 1, as illustrated in the preview pane below.
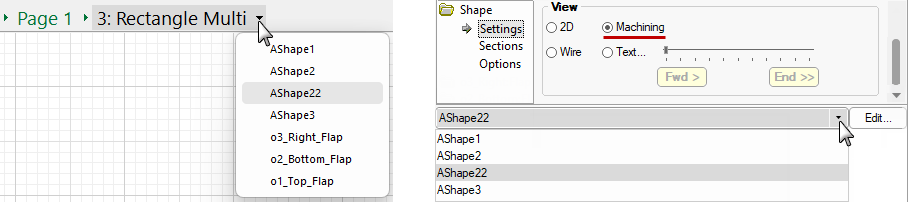
When in Current Editor mode (shown below left), the Breadcrumbs Bar drop list will display the Section Origin (Lower 2) as AShape22.
The same is true if 'Machining' preview is selected on the Settings page (shown below right).
.
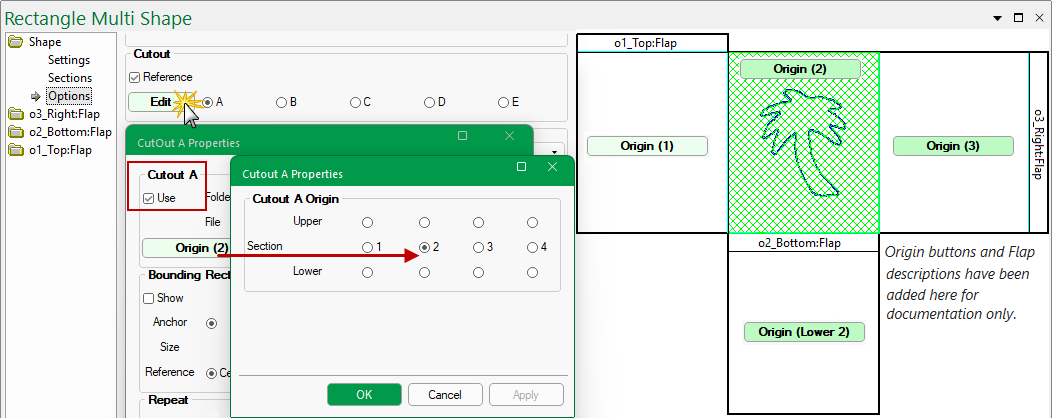
For Multi Shapes, Origin buttons are used to designate where section features, such as DXF Cutouts and Custom Cutouts, are placed.
The description included within the brackets ( ) provide classification details e.g. (21) specifies the lower section of Section 1, as shown below.

Cutouts can be machine repeated with sets of up to five (A to E) different outlines on any shape.
The cutout/s can be placed on a designated section by using the Origin button on the Cutout Properties.
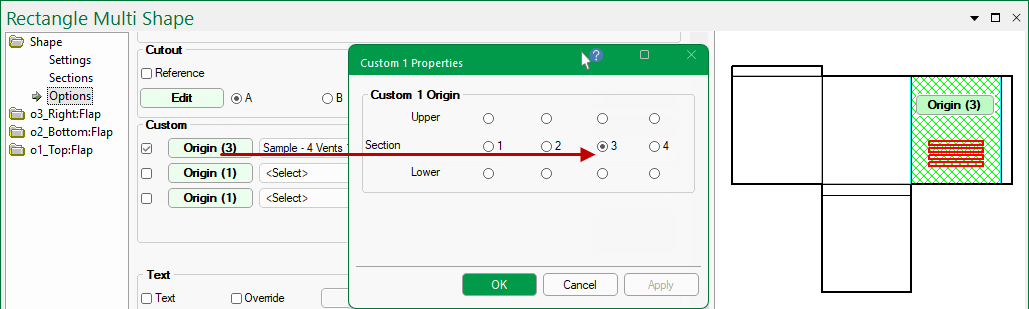
Custom Cutouts can be placed on a designated section by using the Origin button on the Custom Properties dialog.
In this example, Vents have been placed on Section 3 by clicking on the Origin button and using the provided Section radio buttons.
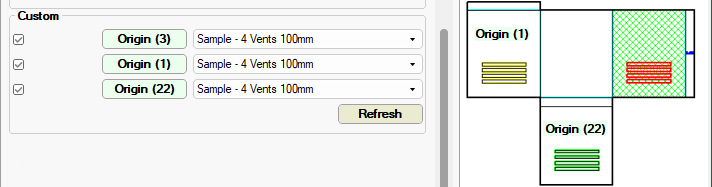
The section does not need to be selected on the Sections page (or highlighted) to have custom cutouts applied.
As you can see, vents have been also been added to Section 1 (Origin 1) and Lower 2 (Origin 22).
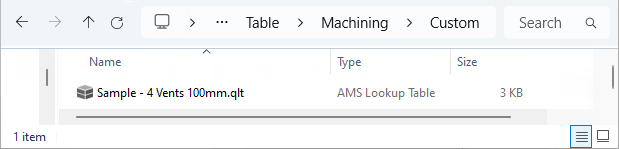
Custom Tables are location
All your Custom Tables are stored in <your ShapeMaster folder>/Table/Machining/Custom folder.