ShapeMaster User Guide
To locate information about any menu commands,  click on the area of interest on image above.
Be aware that this discussion primarily applies to shape properties in Floating mode. When docked, the Preview pane is positioned vertically under the shape options.
The preview pane consists of three major areas:
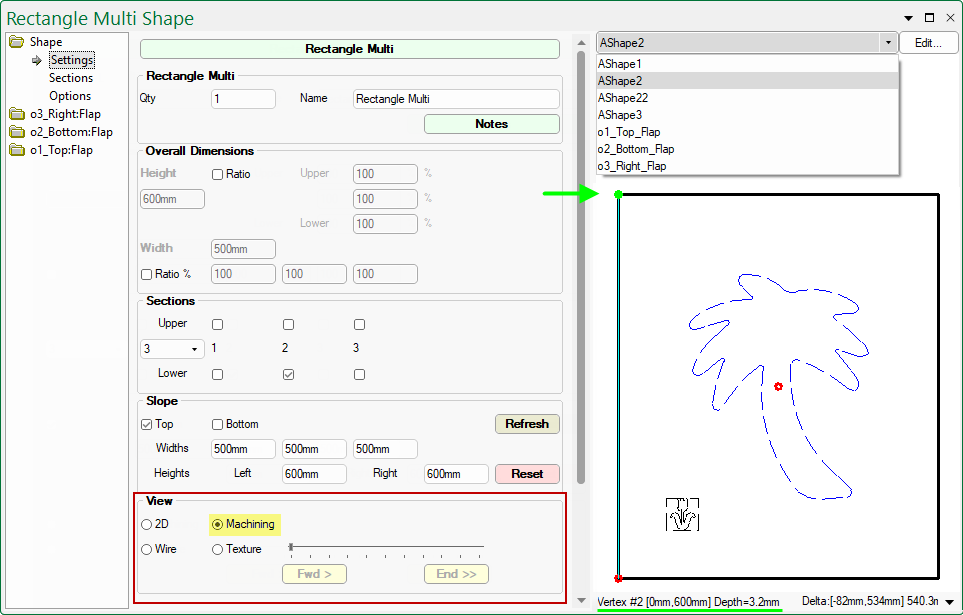
In ShapeMaster the best way to view Machining is by using the options on the Shape > Settings page (see example below). If machining is present, then it is displayed along with a status bar.
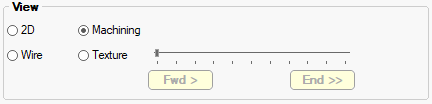
Shape > Settings : View Machining Example
On the Shape > Settings page, there are View options available. The Machining view option allows you to select individual sections using the drop list (as shown). The status bar provides information about the currently selected machine step or click point which is indicated by a green dot.
In this example, the status bar states that the click point is on Vertex #2 with XY coords [0mm:600mm] which is the height of the selected section (click on image to view in 2D/Plan which has dimensioning added). Cutouts applied to this section are also displayed, together with the Reference Point (indicated by red circles).
Click to view in 2D (Plan) View
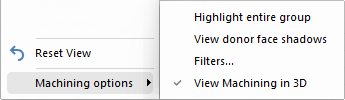
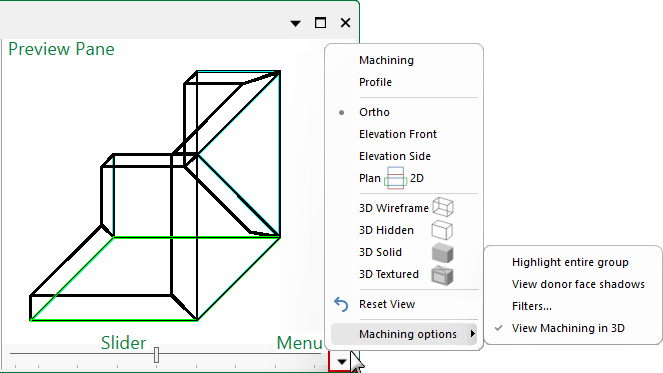
View Machining in 3D: Displays machining in 3D OpenGL view.
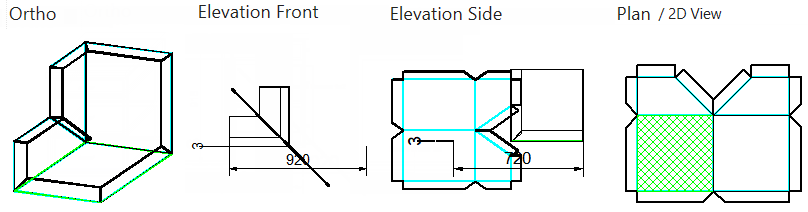
The 'Corner Step Shape' has been used here to show each view selection.
The Text checkbox for both Standard and Multi Shapes allows you to turn on/off the name of the part being displayed in the preview pane and editor modes, and/or machined onto the part. It can also be customised.
The default text is as Shape Name that can be amended on the Shape > Settings page - follow link for more on Name.
Click to view in Machine Editor mode
The Text and Label feature are different even though, as shown above, they may display the same detail if no custom changes are made.
For a detailed discussion on Text Properties, refer to the topic on Setup > Machining.
The following examples explain how details on the Settings page can be used or how this can be overridden on the Options page.
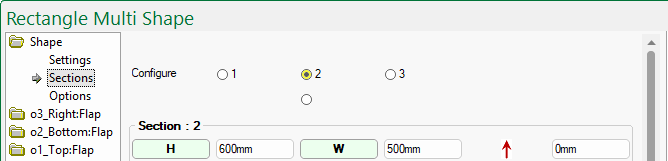
First, though, we need to allocate where we want the Text to display/machine i.e. Section 2.
This is done on the Sections page by using the radio buttons. As you can see we have a rectangle with three sections.
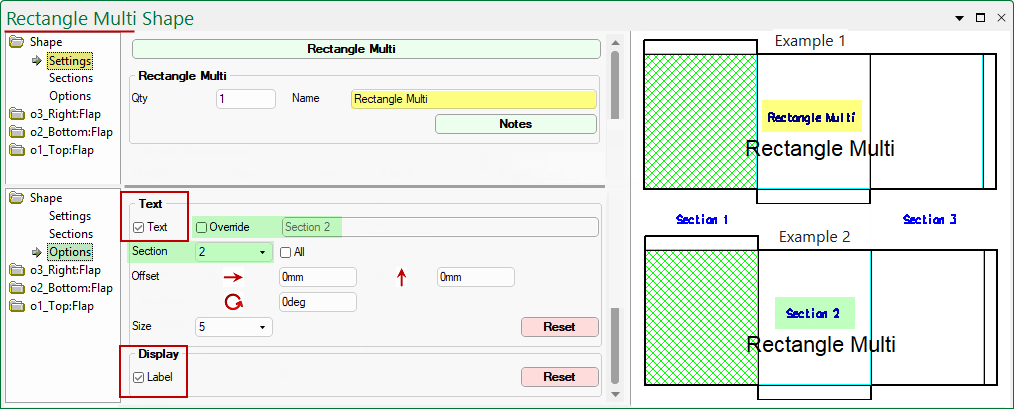
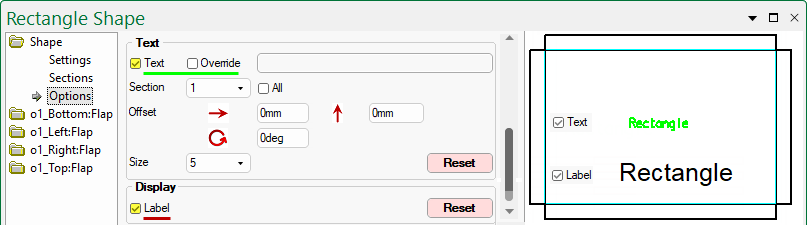
Example 1 Preview Pane : Section 2
- The Text checkbox is ticked and displays the Name which in this case is 'Rectangle Multi' which can be customised.
- The Label checkbox is ticked and displays the Cabinet Label which is also 'Rectangle Multi' (not dependent on which section is selected).
Example 2 Preview Pane : Section 2
- The Text and Override checkboxes are ticked which allows you to type in your own text, which in this case is 'Section 2'.