ShapeMaster User Guide
This is a listing of all the items currently on the drawing. In this view, items which do not represent any physical items can also be added.
This means that you can add pricing information, independent of any specific shape e.g. freight. All items added up here, will be included in reports and exported information about the drawing/job.
In List View, all you need to do is select the basic shape type and change properties for each shape as required.

It is important to understand that in List View you are setting up a job and amending shapes for the current job only.
To locate more information about any commands or tabs shown,  click on the area of interest on ribbon image above.
On the Home tab, select your library and a Shape using either Shape Selection drop lists, the Shape Picker or the Palette.
A Property Inspector can be opened before/after addition to list. It includes a Preview Pane that displays changes in real time. It also allows rotation of the Shape in 3D to enable you to clearly see the effect of any option changes you make.
To customise a shape using the Shape Tool, press the Keyboard Shortcut F12 or use the Shape Tool command button.
The Keyboard Shortcut F12 can be used to both customise the cabinet and, if F12 is pressed again, to add to the list.
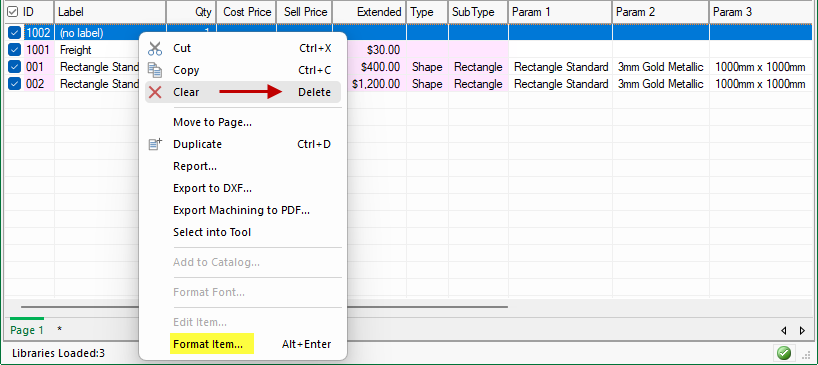
To customise a shape in the list, either double click on the list item or use the right click menu and select Format Item...
Example
The right click menu provides more commands such as Clear/Delete and Format.
If the command is greyed out, then the command is, as shown for this example, not available for selected Extra Item.
The columns displayed can be customised by using the right click menu on any of the column headings, as shown. Simply click on the column description to turn on/off e.g. the Class and Description columns have been unticked and do not display.
The column widths can be moved by hovering over the column until you see the cursor change to  . This allows you to change the column width by dragging it left/right. When you are happy with the result, again use the right click menu and click on Save default widths, as highlighted.
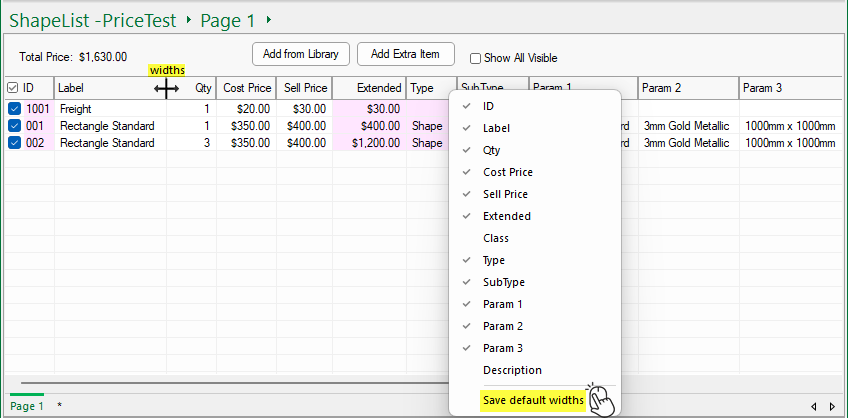
You can manually add items such as Installation, Freight costs etc, illustrated above, by clicking on the Add Extra Item button.
An extra row will be made available with (no label), allowing you to enter details as required.

Another way to customise an extra item/shape is to use the right click menu and select Format Item... as discussed above.
The Cost and Sell prices can also be manually entered for additional items such as freight or fitting costs - the Extended Price is automatically calculated i.e. Qty x Sell Price.
To delete an extra item/shape from the list, use the right click menu and select Clear.
Sometimes you may want to renumber all items into sequence.
To illustrate, six shapes were placed in the list and then the first 3 were deleted i.e. as shown below left, the List View shows ID 004 to 006.
When the Home > Renumber All Items button is clicked, all items will be resequenced, the shapes listed on the right have been reassigned ID's 001 to 003.
On completing your required amendments, pressing F12 again or clicking Add from Library command button will save all changes and add your shape to your list.
The property sheet will remain open (with a light grey background) to allow you to amend the placed shape further, if required.
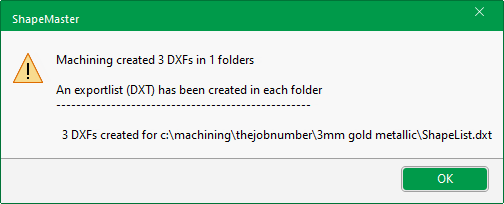
When you have completed your shape list, you can simply press the keyboard shortcut F8 and an export list (DXT) will be created ready for your machining software.
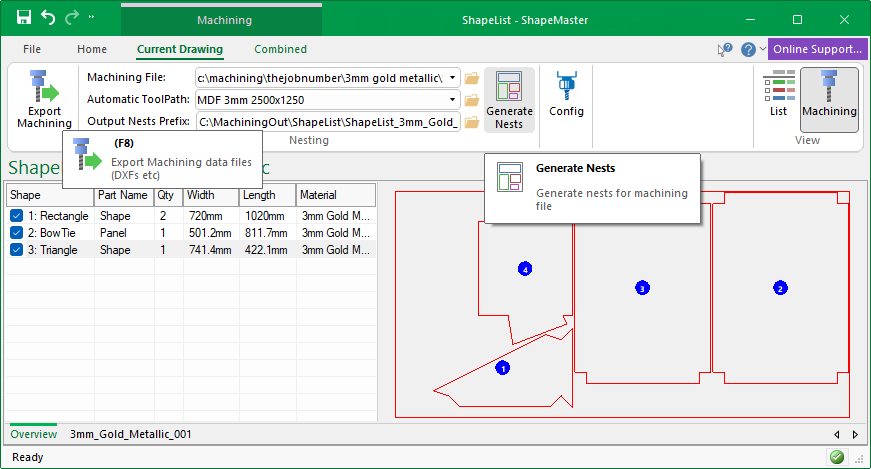
It is recommended to change the view to Machining View, as you will have more control options, as shown below.
In this view you can use either the F8 button or the Export Machining button to generate data files.
Current configuration details for Nesting will then be displayed, which you can control without the need of opening EzyNest.
This also allows you to Generate Nests directly in ShapeMaster.