ShapeMaster User Guide
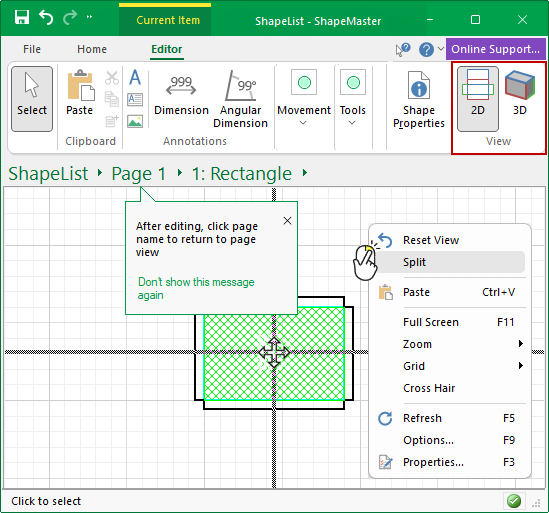
When in 3D Display, this menu is accessed by right clicking mouse on a blank area of a drawing page - see also Current Editor.
 |
For a quick link to locate information about any part of the above menu,  click on the area of interest .
See also 3D Tools | Display ribbon tab and Mouse Shortcuts.
Allows you to work in multiple views, for example ‘List View’ while still being able to see the effect in other views by splitting the window.
The Split command initially attempts to create four (4) panes, as shown above. However, dragging the splitter bar allows you to reduce this to two (2) panes by splitting a window vertically, horizontally, or both.
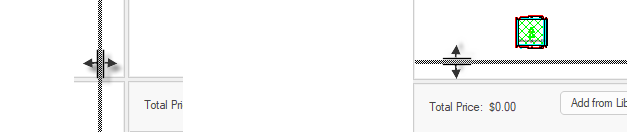
When you hover over the splitter bar, the cursor will change. In the example below we dragged...
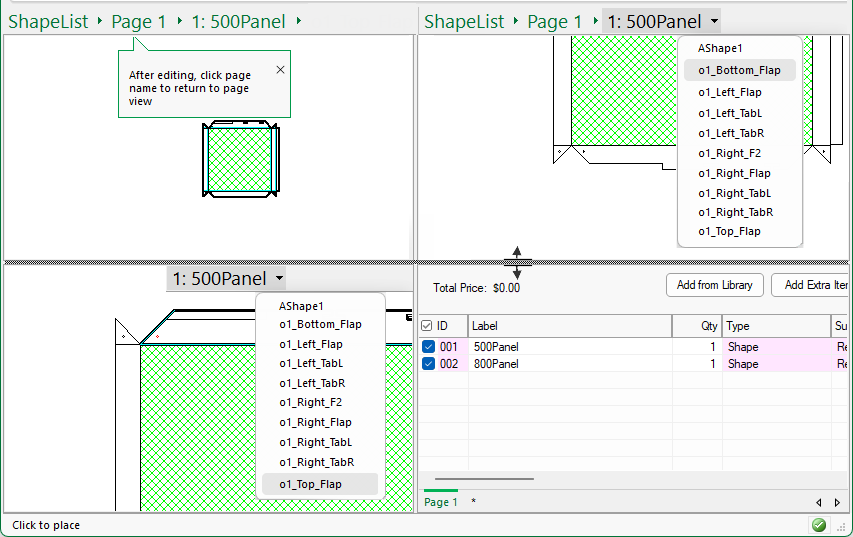
The initial split will be into four (4) panes. To do this...
- Right click on blank area of your drawing to bring up a menu from which you can select the Split command option.
- This will bring up a cross hair as shown below.
- To make each the current active pane, click in any of the available pane areas
- Then use the Breadcrumbs bar to select the item/part that you want to see.
- In the following example, the selections are...
- Pane 1 - the shape "500 panel" which will present the Current Item command ribbon.
- Pane 2 - the shapes part, "Bottom_Flap", and zoomed in.
- Pane 3 - the shapes part, "Top_Flap"
- Try changing the view to 3D instead!
- Pane 4 - is List View with a list of shapes in the drawing/job.
Notice that the horizontal splitter bar is selected which allows you to change the size or reduce the number of panes.
Split into Top/Bottom panes
Move your mouse to the far left hand side of the application window.
- This creates only two (2) viewing panes, one pane on top and one pane on the bottom. (Click image to view)

Click to view top/bottom i.e split into 2 panes.
Split into Left/Right panes
Move your mouse back to the centre and move it vertically to the top of the application window.
- This creates two (2) viewing panes, one pane to the left and one pane to the right. (Click image to view)

Click to view left/right i.e. split into 2 panes
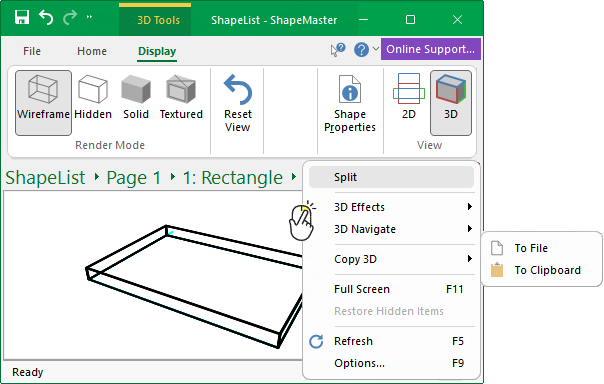
To Clipboard :
This will allow you to copy the current 3D image to the clipboard as a bitmap. It can then be pasted into most image programs and saved or edited.
To File :
Saves the current 3D image to a bitmap file or a 3D model file specified by an Open and Save dialog. It will be exported from the current view position and angle, so the resulting image will look exactly as it does on the screen. Bitmap files can be opened in virtually all image viewing or editing programs. The 3D model will be exported in the 3DS file format, which can then be used to create photo-realistic renders.
Keyboard Shortcut: F11
Expand the view to the entire screen. To return to normal view, use Keyboard Shortcut F11 or 'Close Full Screen' button.
Keyboard Shortcut: F5
Refreshes the window. In ShapeMaster this recreates the page and optionally recalculates the formulae within all visible shapes, and all the sections they may import. When using a number of shapes which have multiple imports, having everything rebuilt may take a while so only use this option when necessary.
Keyboard Shortcut: F9
Not applicable for ShapeMaster.