ShapeMaster User Guide
 Watch the Video on reinstalling CabMaster Software™ on a new computer and see the document on the CabMaster Software™ Transfer Utility.
Download the latest ShapeMaster Installer.
AU Installer Link : Click to Download the Latest Version 12 Installer
US Installer Link : Click to Download the Latest Version 12 Installer
Run the downloaded EXE file.
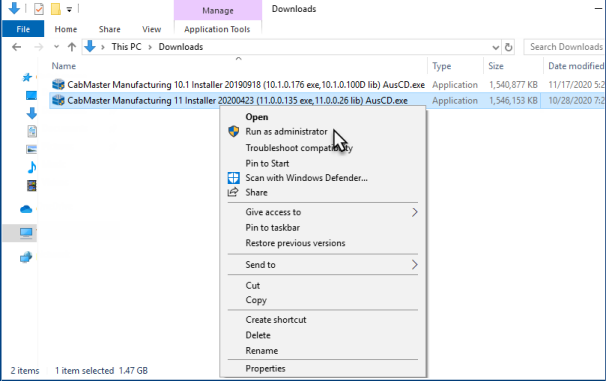
Right click the Exe and select Run As Administrator
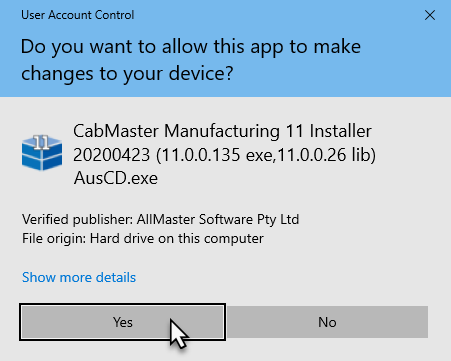
Press Yes on the User Account Control popup if prompted.
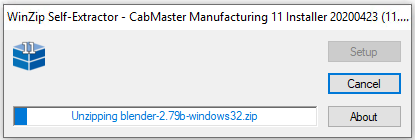
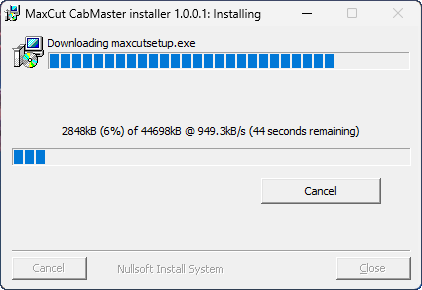
Wait for the extraction to complete.
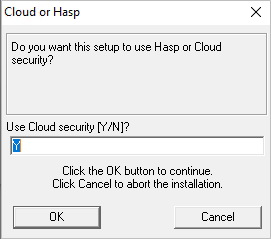
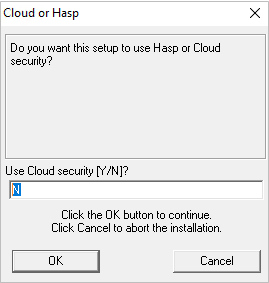
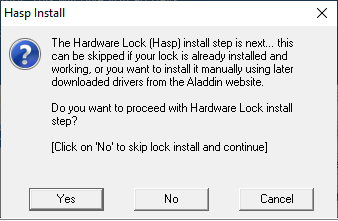
Cloud Setup
If your license looks like below or you are using a cloud licence ...
- type "Y" into the popup and press OK:
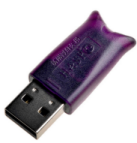
Hardware Lock (Dongle) Setup
If you are using a hardware lock (dongle)...
- type "N" in the box and press OK
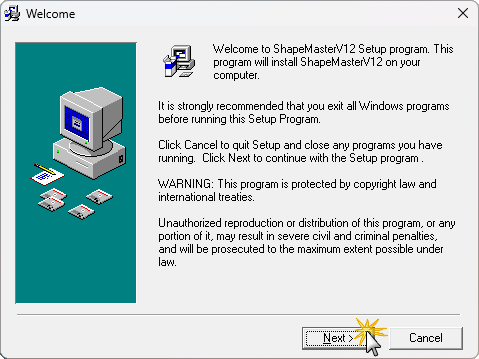
If you have exited all Window programs, as directed here, press Next.
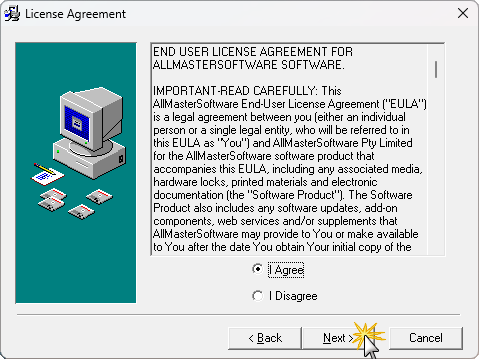
Read the EULA and if you agree select I agree and press Next.
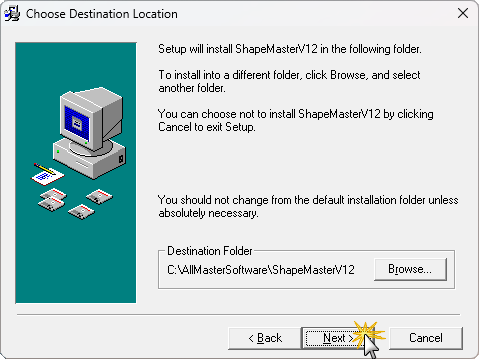
If you want to change the directory you are installing ShapeMaster into, press Browse.
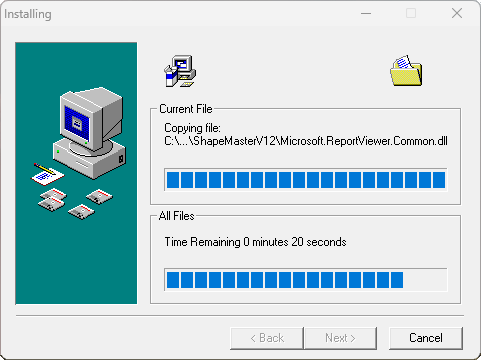
Press Next to begin the install.
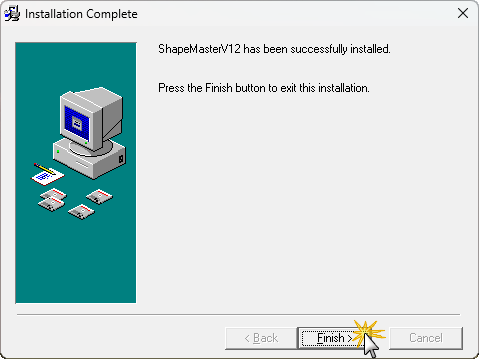
Wait for the install to complete.
If you are running a hardware lock (dongle) you will get the following popup.
- Press Yes to install the drivers for the hardware lock.
Wait for this to complete.
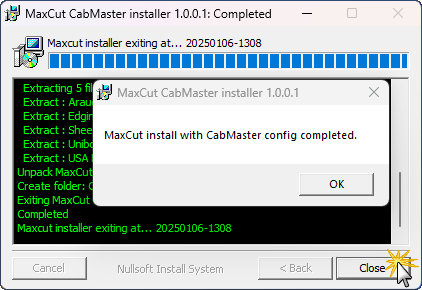
MaxCut : If you have purchased this 3rd party product, MaxCut will install automatically - click here for more...
MaxCut is a 3rd party product which can be purchased as a product for handling panel cutting jobs for panel saws (not CNC machines).
See topic on Extensions and Plug-Ins.
When complete, click OK to the message and then click Close.
ShapeMaster is now installed and you can run ShapeMaster from the shortcut on the desktop.
This video discusses how to reinstall CabMaster Software™ on a new computer. (10:02 mins)
If you have ShapeMaster installed on another computer previously, check the installed location and folder names and obtain a complete copy of the entire folder.